 Semiahmoo Exterior
 New-Construction Windows Are a Different Job Than a Replacement
A lot of homeowners assume "putting in windows" is the same task whether the house is fifty years old or still framed and open to the weather. It isn't. New-construction windows are installed into a bare rough opening, with a nailing fin that gets integrated directly into the house wrap and flashing system before siding ever goes on. There's no old window to reference, no existing trim to match, and no shortcuts available if the opening isn't square or the flashing sequence isn't done in the right order. Get it wrong at this stage and the mistake gets buried behind siding for the next few decades.
For a new build in the Lynden area, this is the one chance to get the window-to-wall connection right from scratch. We treat it that way — not as a fast pass to hit a builder's schedule, but as the step that determines whether the walls around those windows stay dry for the life of the house.
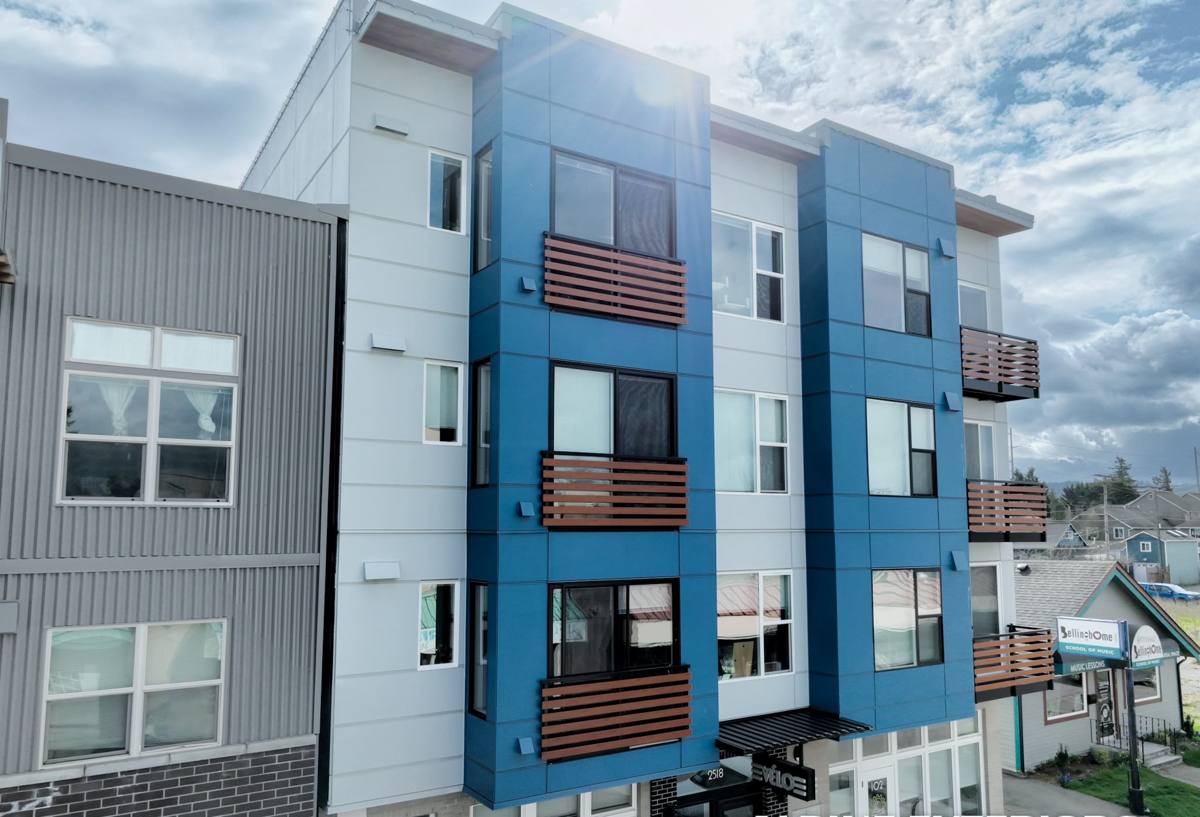
What Lynden-Area New Builds Are Up Against
Whatcom County's building envelope has to handle a specific combination of conditions, and new-construction windows are one of the first lines of defense against all of them.
Salt Air and Corrosion
Proximity to Puget Sound and Semiahmoo Bay means airborne salt is a real factor on hardware, fasteners, and lower-grade metal components. It doesn't destroy a window overnight, but it accelerates corrosion on anything not rated for it — hinges, cranks, screws, and cladding that isn't built for a marine-influenced climate. This is a material selection issue as much as an installation one.
Driving Rain
Storms here don't just fall straight down — wind-driven rain pushes water sideways into wall assemblies, which is exactly where a weak flashing detail fails. A window that's watertight in a light, still rain can still leak under sideways-driven weather if the sill pan, flashing tape, and drainage plane aren't layered correctly.
A Long Moss and Mildew Season
Persistent damp conditions for much of the year mean anything that traps moisture — poor drainage at the sill, gaps in flashing, or wood trim without adequate protection — becomes a growth surface for moss, algae, and mildew faster than it would in a drier climate. That's a maintenance and rot issue over time, not just a cosmetic one.
None of this is unusual for Whatcom County — it's just what the climate does, year in and year out. The point of a correct install is that the house shouldn't notice.
What a Correct New-Construction Window Install Actually Involves
The Flashing Sequence
Water management in a new-construction opening follows a specific order: sill pan first (so any water that gets past the window has somewhere to drain, out, not into the wall cavity), then the window itself set into that pan, then side flashing, then head flashing lapped over the top so everything sheds downward and outward like shingles. Skip a layer or install it out of sequence and you've built a water trap instead of a water barrier.
Fastening and Shimming
The window has to be shimmed plumb, level, and square in the opening before it's fastened — not just nailed in wherever it sits. An out-of-square window stresses the frame, binds hardware, and creates gaps that no amount of caulk fixes long-term.
Insulation and Air Sealing
The gap between the window frame and the rough opening needs to be filled with a low-expansion foam or backer rod and sealant — not standard high-expansion foam, which can bow the frame and cause the sash to bind. This step also matters for energy performance; a well-air-sealed opening is a big part of why a new window performs the way it's rated to.
Glass and Frame Selection
New construction is the ideal time to choose glass packages and frame materials matched to the site — more sun exposure calls for different glass coatings than a shaded, north-facing wall, and homes closer to the water benefit from hardware and cladding built for salt exposure.
Choosing the Right Window Material for a Whatcom County Build
There's no single "best" window material — the right choice depends on budget, maintenance appetite, and how exposed the home is to salt air and driving rain. Here's how the common options stack up for this climate:
| Frame Material | Salt Air / Moisture Resistance | Maintenance | Typical Cost Position |
|---|---|---|---|
| Vinyl | Good — won't corrode or rot; seams are the weak point if not welded well | Low | Lower to mid |
| Fiberglass | Very good — dimensionally stable, resists moisture and salt exposure well | Low | Mid to higher |
| Wood-Clad | Depends on cladding quality; interior wood needs protection from any leaks | Moderate to high | Higher |
| Aluminum | Prone to corrosion near salt air unless marine-rated finish is used | Low, but corrosion risk if under-specified | Varies widely |
Our standard recommendation for builds in this area is vinyl or fiberglass with corrosion-resistant hardware, unless a homeowner or builder has a specific architectural reason to go with wood-clad. It's not that other materials can't work — it's that they carry more maintenance burden or more installation sensitivity in a climate that punishes shortcuts.
Our Process on a Lynden-Area New-Construction Job
- Plan review: We go through the builder's or homeowner's window schedule before anything ships — sizes, egress requirements, glass packages, and hardware finishes get confirmed up front to avoid mid-job substitutions.
- Rough opening check: Before install day, openings get verified for square, level, and correct dimensions. Framing tolerances get flagged early, not discovered with a window in hand.
- Sill pan and flashing install: Each opening gets a proper sill pan and flashing sequence integrated with the house wrap, following manufacturer instructions for that specific window line.
- Window set and fastening: Units are shimmed square, fastened per manufacturer spec, and checked for smooth operation before moving to the next opening.
- Air sealing and insulation: Low-expansion foam or backer rod and sealant fill the perimeter gap without stressing the frame.
- Final flashing and integration with siding: Head flashing and drainage details are completed so the window is fully integrated into the wall's water management system before siding closes it in.
- Walkthrough: Every window gets operated, checked for square, and inspected for gaps or flashing issues before we sign off.
Common Mistakes We See on New Builds — and How We Avoid Them
- Skipping or improvising the sill pan instead of installing one designed for the window line
- Using high-expansion foam that bows the frame and causes hardware to bind
- Fastening before the unit is confirmed plumb, level, and square
- Head flashing installed under the house wrap instead of lapped over it, directing water into the wall instead of away from it
- Hardware and fasteners not rated for salt-air exposure on homes closer to the water
- Window schedules finalized without checking egress code requirements for bedrooms
- Trim and cladding closed in before flashing is inspected, hiding problems until a leak shows up years later
Most window failures we get called out to inspect on older homes trace back to one of these — not the window itself failing, but a step in the install sequence that got rushed or skipped.
Timing: Working With Builders and GC Schedules
New-construction window install has to land at the right point in the build sequence — after the house is framed and wrapped, but before siding closes everything in. Order lead times for windows can run several weeks depending on size, glass package, and manufacturer, so we coordinate with the general contractor or homeowner early to make sure units are on-site and ready when the framing schedule calls for them. A delay here holds up the whole exterior sequence, so we build ordering timelines around the builder's actual schedule, not a generic estimate.
Why a Local Crew That Already Works Lynden Matters
New-construction window work depends on getting flashing and drainage details right for the specific conditions a house will face — and that's easier to get right when a crew already knows what Whatcom County builds are up against. A crew that works this area regularly has already seen how driving rain behaves against a given wall orientation, which hardware finishes actually hold up to salt air over time, and where builders in this region typically run into framing tolerance issues. That's not something a crew passing through once can match on a single job. It also means we're realistically available for a warranty check or a question after move-in, not a phone number that stops answering once the invoice is paid.
Maintenance After Move-In
A correctly installed new-construction window doesn't need much — but a little seasonal attention goes a long way in this climate. Rinse sills and tracks periodically to clear salt residue and debris before it holds moisture against the frame. Keep an eye on caulking and sealant lines around the exterior trim each year, since UV and constant damp cycles are what wear sealant out first. If moss or algae starts forming on sills or nearby trim, clean it early rather than letting it hold moisture against the building long-term — it's far easier to manage as light buildup than after it's established.
If you're planning windows for a new build in the Lynden area, we're happy to walk through the plans, talk through material options for your site, and give you a straightforward, no-pressure estimate. There's a form below — reach out and we'll go from there.