 Semiahmoo Exterior
 Building New in Marietta: What the Climate Asks of Your Windows
Marietta sits close to the water, and that proximity shapes everything about how a new home should be built here. Salt-laden air moves in off the bay and settles on every exterior surface, including window frames and hardware. Whatcom County's driving rain — often blown sideways by wind off the Strait — tests every seam, joint, and flashing detail long before it tests the glass itself. And the shaded, moist conditions common on tree-lined lots around Semiahmoo bring a long moss season that keeps exterior surfaces damp for weeks at a time. None of this means new-construction windows need to be exotic or over-engineered. It means they need to be selected and installed with this specific environment in mind, not treated as an afterthought bolted into a rough opening.
When we work on a new build in Marietta, we're not just setting units into openings — we're thinking about how water will move around the house for the next 30-plus years, and making sure the window installation doesn't become the weak point in that system.
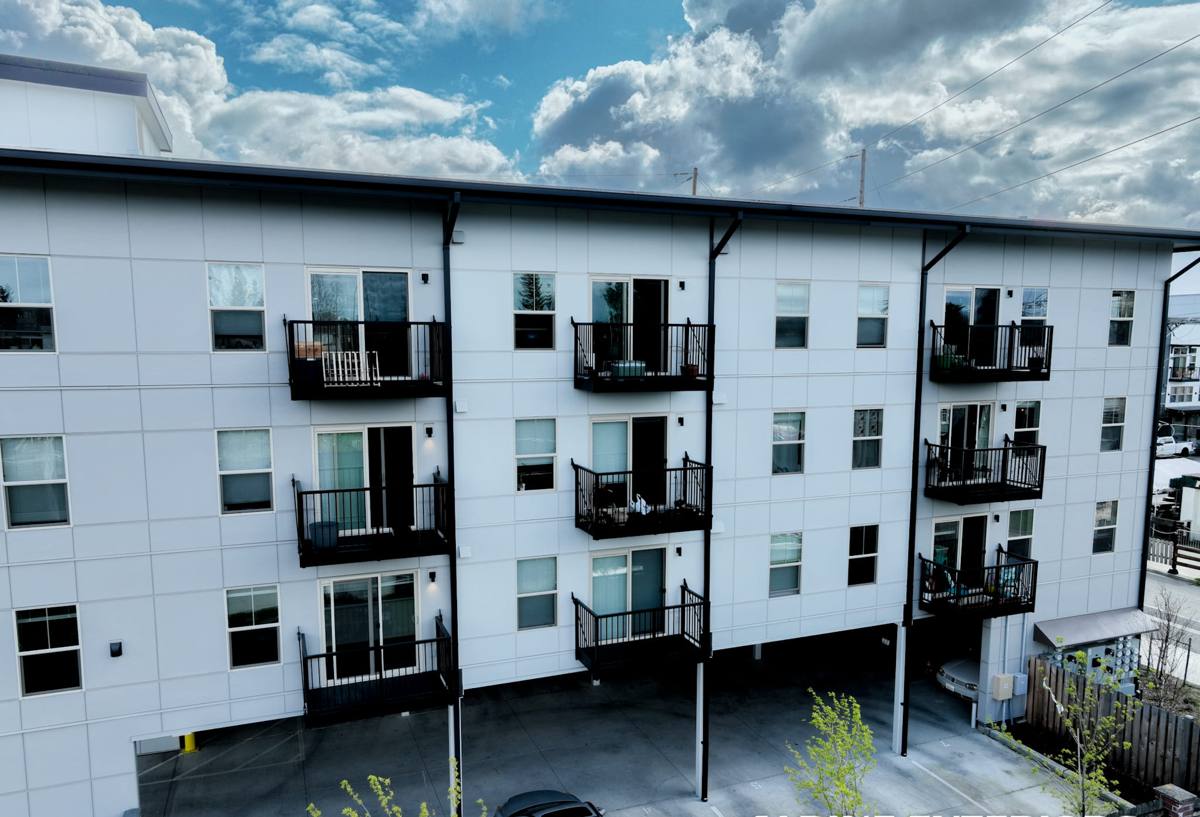
New-Construction Windows vs. Replacement Windows: Why the Install Method Matters
New-construction windows are built with a nailing fin around the perimeter of the frame, designed to be installed before the siding goes on and integrated directly into the home's weather-resistive barrier (WRB). This is fundamentally different from a replacement or "pocket" window, which is designed to fit into an existing, already-finished opening without disturbing the surrounding wall.
The advantage of doing it right during new construction is real: we get access to the full rough opening, the sheathing, and the WRB before anything is closed up. That means we can build a proper drainage plane and flashing system from scratch, rather than working around finished siding or trim later. Getting this stage right is the single biggest factor in whether a window leaks in year two or performs for decades.
Why This Stage Can't Be Rushed
On a coastal build schedule, there's often pressure to move fast between framing, windows, and siding. But window installation is one of the few steps in home construction where a shortcut taken now is invisible until the first heavy rain event exposes it — sometimes inside a wall cavity where it does the most damage before anyone notices.
Getting the Water Management Right
Correct new-construction window installation is really a water management project that happens to involve a window. In a climate like Marietta's, where driving rain is a regular feature of fall and winter storms, every layer has to do its job:
- A sloped sill pan under the rough opening so any water that gets past the window has somewhere to go — out, not into the wall
- Proper shingle-lap sequencing of flashing tape and the WRB, so upper layers always overlap lower layers
- Head flashing installed with a drip edge that kicks water away from the wall, not against it
- Backer rod and a compatible, weather-rated sealant at the exterior perimeter — sized and tooled correctly, not just caulked over gaps
- Shims placed to keep the frame square and unbowed without blocking drainage paths
- Continuous, verified integration between the window flashing and the WRB, with no gaps, reverse laps, or exposed staple holes
Skipping or rushing any one of these steps doesn't usually cause an immediate problem. It causes a slow one — moisture intrusion that shows up as staining, soft trim, or interior mold months or years down the road, often well after the window installer has moved on.
Choosing Frame Material and Glass for Salt Air and Rain
Not every window product handles a marine-influenced climate the same way. Salt air accelerates corrosion on hardware and fasteners, and constant moisture punishes materials and finishes that aren't suited for it. We look at frame material, hardware quality, and glass package together, not in isolation.
| Frame Material | Salt/Moisture Resistance | Maintenance | Typical Cost Tier |
|---|---|---|---|
| Vinyl | Good — won't corrode or rot; UV can affect finish over decades | Low — occasional rinsing | Budget to mid-range |
| Fiberglass | Excellent — dimensionally stable, resists corrosion and swelling | Low | Mid to upper-range |
| Aluminum-clad wood | Good exterior protection, but any breach exposes wood core to rot risk | Moderate — cladding seams need periodic checking | Upper-range |
| Bare wood | Poor in high-moisture coastal exposure without diligent upkeep | High | Varies |
For most new builds in Marietta, we steer clients toward vinyl or fiberglass frames precisely because they shrug off the salt-air and moisture exposure with the least long-term maintenance burden. Wood and wood-clad products can still be the right call for a specific architectural look, but we're upfront that they come with a higher inspection and upkeep commitment in this environment — that's a trade-off we'll walk through honestly, not a product we'll oversell.
On glass, a quality Low-E coated, dual-pane unit with argon fill is the baseline we recommend for this area — it manages heat loss and condensation risk well in our mild, wet winters. Triple-pane glass is worth discussing for north-facing or particularly wind-exposed elevations, but it adds weight and cost that isn't always justified on every opening.
Energy Code and Structural Considerations
Washington's energy code sets minimum U-factor requirements for new-construction glazing, and Whatcom County's building department enforces those requirements alongside egress and safety-glazing rules for bedrooms, stairwells, and areas near doors or wet locations. On a new build, window selection isn't just an aesthetic choice — it has to satisfy code on paper before it ever gets installed.
Wind exposure is another factor we weigh on open or water-facing lots around Semiahmoo. Homes with less tree cover or a more direct sightline to the water can see higher wind loads on their exterior walls, which affects the structural rating a window needs to carry. We check this against the specific lot and elevation rather than assuming every opening on a build needs the same spec.
Our Process on a New Build
- Plan review: We look at the architectural plans and rough opening schedule before framing is finished, flagging any sizing or code issues early.
- Product selection: We walk through frame material, glass package, and hardware options based on the home's exposure, budget, and the builder's timeline.
- Coordination with the builder: Window installation has to slot into the framing-to-siding sequence at the right moment — too early and the WRB isn't ready; too late and it holds up the whole exterior schedule.
- Installation: Sill pan, flashing, and sealant work is done in the correct order, with each layer inspected before the next goes on.
- Documentation: We photograph flashing and sealant details before they're covered by siding, so there's a record for warranty purposes and for the homeowner's own files.
Working Within Someone Else's Schedule
On a new build, we're rarely the only trade on site. Framers, siders, and other subs all have a stake in the same timeline. Part of doing this job well is showing up when we say we will and not becoming the bottleneck — something that matters as much as the technical install quality when a builder is trying to hit a closing date.
Why a Crew That Already Works Marietta and Semiahmoo Matters
A contractor who's spent time on new builds in this specific part of Whatcom County already knows what a Marietta-area lot tends to throw at a window installation — the wind direction storms usually come from, how much shade a given lot gets and what that means for moss and lingering moisture, and how salt exposure varies depending on how close and how open a lot is to the water. That local pattern recognition means fewer surprises mid-build and fewer callbacks after the home is finished and occupied.
It also means we're familiar with how Whatcom County's permitting and inspection process runs for new construction, so window-related inspections don't become a scheduling surprise late in the project.
A Quality-Install Checklist for Your Build
Whether you're a homeowner working with a builder or managing parts of your own build, these are the things worth confirming before your windows get covered by siding:
- Rough openings measured and squared before windows arrive on site
- Sloped sill pan installed under every opening
- Flashing tape and WRB integrated in correct shingle-lap order, with no reverse laps
- Head flashing with a functional drip edge at the top of each opening
- Shims used to keep frames square without restricting drainage
- Exterior sealant appropriate for the frame material and rated for exposure
- Interior air sealing completed, separate from the exterior water management layer
- Photos taken of flashing details before siding installation covers them
Protecting the Investment After Move-In
Once the home is finished, a little seasonal attention keeps new-construction windows performing the way they were installed to. Rinsing salt residue off exterior frames and hardware a few times a year prevents buildup, especially on lots with a clear line to the water. Keeping gutters and downspouts clear reduces the amount of water running down and across window openings during heavy rain. And on shaded lots where moss tends to establish on siding and trim, keeping growth off the areas directly above and around windows helps avoid trapped moisture at the frame's edges.
If you're planning a new build or working with a builder in the Marietta or greater Semiahmoo area, we're happy to take a look at your plans and talk through window options honestly — no pressure, no upsell, just a straightforward assessment of what your specific lot and design need. Reach out below for a free estimate.