 Semiahmoo Exterior
 Building New in Blaine Means Building for the Water
New-construction windows only get one chance to be installed right. Once siding, trim, and interior finishes go on, the flashing details behind them are hidden for the life of the house. That makes the framing stage the most important — and least forgiving — point in the entire build. In Blaine, that stage carries extra weight because the house is going up in a marine climate: salt-laden air off Semiahmoo Bay and Drayton Harbor, wind-driven rain that comes in sideways off the water more often than it falls straight down, and a long stretch of the year where surfaces stay damp enough for moss and algae to take hold.
None of that is a reason to over-build or over-spec every window on the house. It is a reason to get the fundamentals right the first time: the correct window type for the wall assembly, a flashing sequence that actually sheds water instead of trapping it, and hardware that won't corrode prematurely in salt air. That's what this page covers — new-construction window installation for Blaine builds specifically, not general window replacement.
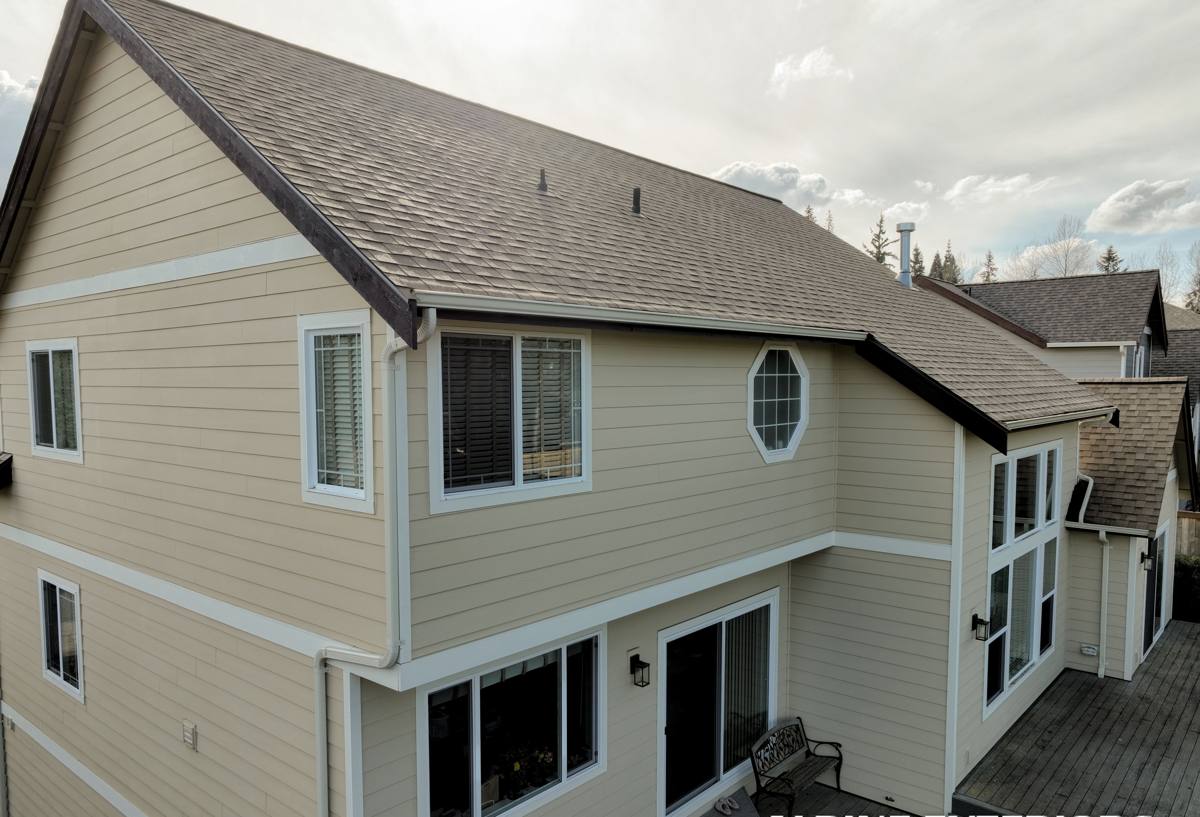
New-Construction vs. Replacement: Why the Install Method Is Different
Replacement windows are built to fit into an existing, finished opening with minimal disruption to siding and trim. New-construction windows are a different product and a different installation method entirely — they're set into a bare, framed rough opening before the weather-resistive barrier (WRB), siding, and trim go on. That gives us full access to do the job the way it should be done: lap the flashing correctly, install a proper sill pan, and integrate the window into the wall's drainage plane from the start.
Most new-construction windows use a nailing flange (nail fin) that gets fastened to the sheathing and flashed into the WRB. Some Blaine builds — particularly homes with masonry veneer, stucco, or certain fiber-cement details — use block-frame or flush-fin windows instead, which are flashed differently and rely more heavily on sealant joints and receptor systems. Getting this decision right at the framing stage avoids costly rework later, and it's one of the first things we confirm when we walk a job with a builder or homeowner.
Choosing the Right Window for a Marine Environment
Frame Material
Vinyl, fiberglass, and wood-clad frames are all viable in Whatcom County, but they age differently near salt air and constant moisture. Vinyl is affordable and low-maintenance but can expand and contract more with temperature swings, which matters at the sealant joints. Fiberglass holds dimensional stability well and handles damp cycling with less movement. Wood-clad frames offer a warmer interior look but need the exterior cladding and joints to be genuinely watertight, since any breach exposes the wood core to a climate that won't let it dry out quickly. There's no universally "correct" choice — it depends on the home's design, budget, and how exposed a given elevation is to weather.
Glass Package
Low-E coatings and argon or krypton gas fills are standard on most new-construction windows sold today, and for Blaine's climate zone that's appropriate rather than optional upgrade territory. Double-pane low-E units meet code and perform well here; triple-pane adds cost and weight for a marginal comfort gain that some homeowners value and others don't need. We'll walk through the actual U-factor and SHGC numbers for your specific elevations rather than sell a blanket recommendation.
Hardware and Fasteners
This is the detail that gets skipped most often and matters most near the water. Standard carbon-steel fasteners and hardware corrode faster in salt-influenced air than they would twenty miles inland. We spec corrosion-resistant fasteners and hardware — typically stainless steel or coated equivalents rated for coastal exposure — on window installs anywhere in the Semiahmoo and Blaine area, especially on west- and water-facing walls.
The Flashing and Weatherproofing Sequence We Follow
Driving rain finds the smallest gap in a flashing sequence, and it finds it during the first real storm, not years later. The order of operations matters more than any single product used:
- Rough opening is checked for square, level, and correct dimension before the window ever arrives on site
- A sloped sill pan is installed so any water that gets past the window has somewhere to drain — flat or reverse-sloped sills are a common source of hidden rot
- Self-adhered flashing tape is applied in the correct shingle-lap order: sill first, then jambs, then head, so each layer overlaps the one below it and water is directed outward, not trapped behind the WRB
- The window is set, shimmed plumb and square, and fastened per the manufacturer's schedule — not just "close enough"
- Head flashing integrates under the WRB above the window, never on top of it
- Interior and exterior gaps are insulated and sealed appropriately — foam or backer rod and sealant on the interior, a properly sized weep path maintained on the exterior
Skipping or reversing any one of these steps doesn't usually cause an immediate problem. It shows up two or three wet seasons later as a stain on the interior sill or soft trim — exactly the kind of failure that's expensive to trace and repair after the wall is closed up. Getting the sequence right the first time is the whole job.
Meeting Washington State Energy Code in Whatcom County
Washington's energy code sets minimum performance requirements for window U-factor and solar heat gain, and those requirements are checked against the whole-house energy budget, not just the windows in isolation. Whatcom County falls in a climate zone where code-minimum performance is a reasonable baseline for most new builds, but window placement, orientation, and total glazing area on a given elevation can push a project toward better-performing glass in specific spots — a large west-facing window wall, for example, often needs a lower SHGC than a small bathroom window on the north side. We coordinate with builders and, where needed, the project's energy consultant so the window schedule supports the permit rather than creating a compliance problem discovered after installation.
Working With Your Builder: Fitting Into the Construction Schedule
New-construction window installation happens on the general contractor's timeline, not in isolation. Windows typically need to be on site and set shortly after framing is inspected and before the WRB and siding crews move in behind them. Delays here cascade — a late window delivery or a rushed install can hold up an entire exterior trade sequence. We work directly with builders and framers on Blaine job sites to confirm rough opening sizes before windows are ordered, coordinate delivery timing, and make sure our flashing work is complete and dry before the next trade starts layering over it. A crew that's done this handoff before, on this kind of job, keeps a build moving instead of becoming the bottleneck.
Comparing Frame Materials for a Blaine New Build
| Frame Material | Coastal/Salt-Air Behavior | Maintenance | Typical Cost Tier |
|---|---|---|---|
| Vinyl | Good; watch sealant joints with thermal movement | Low | Lower |
| Fiberglass | Very good; stable through damp/dry cycling | Low | Mid to upper |
| Wood-clad | Depends entirely on cladding and joint integrity | Moderate | Upper |
| Aluminum (uncoated) | Prone to corrosion and condensation near salt air | Higher | Varies |
This is a starting point for a conversation, not a substitute for one. The right answer for your build depends on the home's design, which elevations face the water and prevailing weather, and how the windows integrate with the rest of the exterior envelope.
A Practical Checklist Before Windows Go In
- Rough openings measured and confirmed against the actual window order, not just the plan set
- Sill pan flashing specified and sloped, not flat
- Flashing tape sequence confirmed: sill, jambs, head, WRB integration at the top
- Fastener and hardware spec appropriate for a marine environment, especially on exposed elevations
- Window schedule checked against Washington State Energy Code requirements for the project
- Installation timing coordinated with the builder's framing and siding sequence
- Interior and exterior sealant details specified, not left to field judgment on install day
Why Local Experience on Blaine Job Sites Matters
A window installed correctly in a dry inland climate can still fail early in Blaine if the flashing sequence doesn't account for driving rain, or if standard hardware is used where corrosion-resistant fasteners were needed. A crew that regularly works Whatcom County new-construction sites already knows which elevations on a Blaine or Semiahmoo lot take the worst weather, how local moss and algae growth patterns affect sill and trim details over time, and how to sequence work with the builders and trades already active in this area. That local pattern recognition is the difference between a window that performs for decades and one that starts showing problems in its first few wet winters.
If you're planning a new build or currently framing one in Blaine, we're glad to walk the site, review your window schedule, and give you a straightforward, no-pressure estimate — just fill out the form below.