 Semiahmoo Exterior
 Building New in Blaine Harbor Means Building for the Water
Blaine Harbor sits right on Semiahmoo Bay, which means new construction here faces a different set of conditions than a build a few miles inland. Wind off the water drives rain sideways into wall assemblies, salt-laden air accelerates corrosion on anything metal, and Whatcom County's long, damp fall-through-spring stretch keeps exterior surfaces wet and slow to dry for months at a time. Windows are one of the biggest openings in that wall assembly, and how they're installed during framing determines whether your home manages that moisture correctly for the next thirty years or fights it the whole way.
New-construction window work is a one-shot opportunity. Once siding, trim, and interior finishes go on, the flashing and sealing details behind them are covered up. Get it right at the framing stage and you won't think about it again. Get it wrong, and the first sign of trouble is usually a stain on drywall or a soft spot in the sill years down the road.
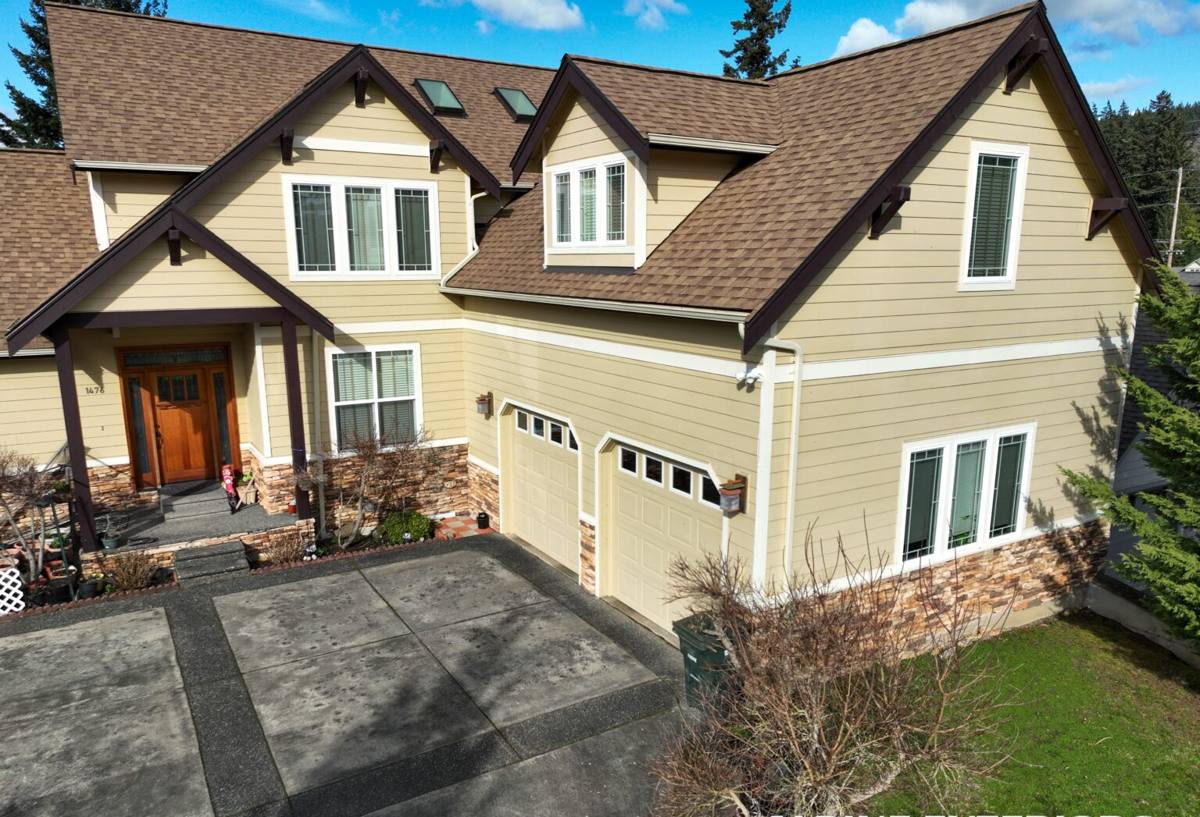
New-Construction Windows vs. Replacement: A Different Job Entirely
People sometimes assume all window installation is the same job. It isn't. Replacement windows go into an existing opening, usually from the interior, working around finished siding and trim that's staying put. New-construction windows go in while the wall is open — studs exposed, weather-resistive barrier (WRB) either just installed or about to be — which gives us access to build the water management system correctly from the framing out.
Nail-Fin Windows and the Weather-Resistive Barrier
Most new-construction windows use a nailing flange (also called a nail fin) that gets integrated directly into the WRB — the house wrap or building paper that's the wall's main defense against bulk water. The flange has to be lapped correctly with the WRB above and around it, following a shingle-lap principle: every layer overlaps the one below it, so water is always directed outward and down, never trapped behind a seam.
Why Sequence Matters More Than Materials
You can use excellent windows and still end up with leaks if the flashing sequence is wrong. On a harbor-facing lot getting regular wind-driven rain, a reversed lap or a skipped step doesn't just risk an occasional drip — it gives water a direct path into the wall cavity every time a storm blows through off the bay.
What a Correct Install Involves Here
The Sill Pan Comes First
Before the window ever goes into the opening, the rough sill gets a pan flashing — essentially a shallow waterproof tray with a back dam. Its job is to catch any water that eventually works past the window's own seals (all windows can take on some water over decades) and drain it back outside instead of letting it pool against framing. On a driving-rain site like Blaine Harbor, we treat the sill pan as non-negotiable, not an upgrade.
Corrosion-Resistant Fasteners and Hardware
Standard fasteners can start showing rust within a few years in a salt-air environment. For homes in Blaine Harbor and along Semiahmoo Bay, we use stainless or coated fasteners rated for coastal exposure, and we pay attention to hardware finishes on the windows themselves — hinges, locks, and cranks are often the first thing to corrode on a lower-grade unit this close to the water.
Sealant Selection and Joint Design
Sealant isn't just caulk squeezed into a gap. The joint needs the right width and depth for the sealant to flex with temperature and moisture cycling without tearing loose, and the sealant chemistry has to be compatible with both the window frame material and the WRB. In a climate that stays damp as long as ours does, a sealant that skins over but never fully cures, or one that's incompatible with the substrate, fails quietly and shows up as a leak a year or two later.
Choosing Frame Materials for a Blaine Harbor Build
Frame material affects how a window holds up to salt air, humidity, and years of damp weather. There's no single right answer for every project — budget, architectural style, and how exposed the lot is all factor in — but here's how the common options compare for a build this close to the water.
| Frame Material | Coastal Durability | Maintenance | Typical Cost |
|---|---|---|---|
| Vinyl | Good — won't rust or rot; some color fading over decades in sun and salt air | Low | Lower |
| Fiberglass | Very good — dimensionally stable, resists corrosion, holds up well to temperature swings | Low | Mid to higher |
| Wood-clad | Depends heavily on cladding integrity and installation quality — the wood core is vulnerable if moisture gets behind the cladding | Higher — cladding and seals need periodic inspection | Higher |
| Aluminum | Conducts heat/cold and can corrode without a marine-grade finish; less common in residential new construction here | Moderate | Mid |
For most Blaine Harbor new builds we point clients toward vinyl or fiberglass for the durability-to-cost balance, and toward fiberglass specifically on larger openings where rigidity matters. Wood-clad windows can look great and perform well, but we're honest with clients that they carry more long-term maintenance responsibility — the cladding has to stay sealed, because once moisture gets behind it into the wood core, that's a harder repair than a vinyl or fiberglass frame ever presents.
Glazing for a Damp, Marine Climate
Dual-pane, low-E glass with an argon fill is the practical baseline for this area — it manages both heat loss and condensation control. Condensation resistance matters more here than in a drier climate, because Whatcom County's humidity during moss season keeps indoor-outdoor temperature and moisture differentials working against the glass for long stretches at a time.
Our New-Construction Window Process
- Verify rough openings against the window schedule before anything is set — undersized or out-of-square openings cause problems that are much cheaper to fix now than after the window is in.
- Install sill pan flashing with a back dam and end dams, sloped to drain outward.
- Set the window plumb, level, and square, and fasten according to the manufacturer's specifications — over- or under-fastening both cause problems down the line.
- Integrate the nailing flange into the WRB in proper shingle-lap sequence: sill first, jambs next, head last, each lapping over the one before it.
- Seal and backer-rod the interior side per the window manufacturer's installation instructions, maintaining a drainage path rather than fully sealing the exterior in a way that traps water.
- Insulate and air-seal the gap between the rough opening and the window frame with a low-expansion or backer-rod-and-sealant approach — never packed so tight it bows the frame.
- Walk the openings with the builder before siding goes on, while the flashing is still visible and anything questionable can still be corrected without tearing into finished work.
Working With Your Builder or General Contractor
New-construction window installation happens on a schedule set by the framing and dry-in timeline, not on its own. We coordinate directly with your builder or GC to hit the window so the house can be wrapped and dried in without delay, and we flag any rough-opening or WRB issues immediately rather than working around them, since those are the kind of things that are cheap to fix in the moment and expensive to fix after the fact. If you're the homeowner on an owner-builder project or working with a GC who's bringing in trade specialists, we're glad to work either directly with you or as part of your existing crew.
Mistakes We See in Coastal New Construction
None of this is a knock on any particular product — it's about installation discipline, which is where most water problems actually start. The recurring issues we run into on coastal builds:
- Flashing lapped backward or out of sequence, so water is funneled into the wall instead of away from it
- Sill pans skipped or improvised on-site instead of properly formed with a back dam
- Standard fasteners used in a salt-air environment where they'll corrode well before the window's own service life is up
- Rough openings that are out of square, forcing the window to be racked to fit and stressing the frame and seals
- Sealant applied without backer rod, leading to joints that crack instead of flexing
- Windows fastened before the sill pan and flashing sequence is complete, making proper lapping impossible
Why a Crew That Already Works Blaine Harbor Matters
A window package that performs fine on a sheltered inland lot can underperform on a Blaine Harbor waterfront site with direct exposure to wind off Semiahmoo Bay. Knowing which elevations of a given lot take the worst of the driving rain, how far salt spray typically carries, and how long moss and algae growth stays active on north-facing walls all shape decisions we make on fastener choice, sealant selection, and flashing detail before the first window ever gets set. That's knowledge built from working this specific stretch of Whatcom County repeatedly, not from a manufacturer's general installation guide.
We also already know the local builders, the typical framing tolerances on new builds in the area, and the inspection expectations that come with new construction in Blaine. That familiarity keeps your project moving instead of sitting on a punch list.
What to Verify Before Your Windows Go In
- Rough openings checked against the window schedule for size and square
- Sill pan flashing planned with a back dam, not just a bead of sealant
- Fastener and hardware specs appropriate for a salt-air environment
- WRB installed and ready to integrate with the window flange before the window is set
- A written installation warranty separate from the manufacturer's product warranty
- A walk-through of the flashing before siding covers it up
If you're planning a new build in Blaine Harbor and want windows installed the way this climate actually requires, we're happy to walk your plans and give you a straightforward, no-pressure estimate. Use the form below to get started.