 Semiahmoo Exterior
 Why Bellingham Siding Takes a Different Kind of Beating
Bellingham sits right where Whatcom County's marine climate does its most consistent damage — close enough to the water for salt-laden air to reach exterior walls, wet enough for driving rain to find every weak seam in a siding system, and shaded enough in many neighborhoods for moss to hold on for most of the year instead of drying out between storms. None of that is unusual for this part of Washington. But it means siding here ages differently than siding in a drier inland town, and repairs that would be minor elsewhere can turn into bigger problems if they sit too long.
We work on homes throughout Whatcom County, and Bellingham's mix of older housing stock, tree cover, and proximity to the water gives us a good read on what actually fails first, what's cosmetic versus structural, and what a repair needs to accomplish to actually hold up through another wet season.
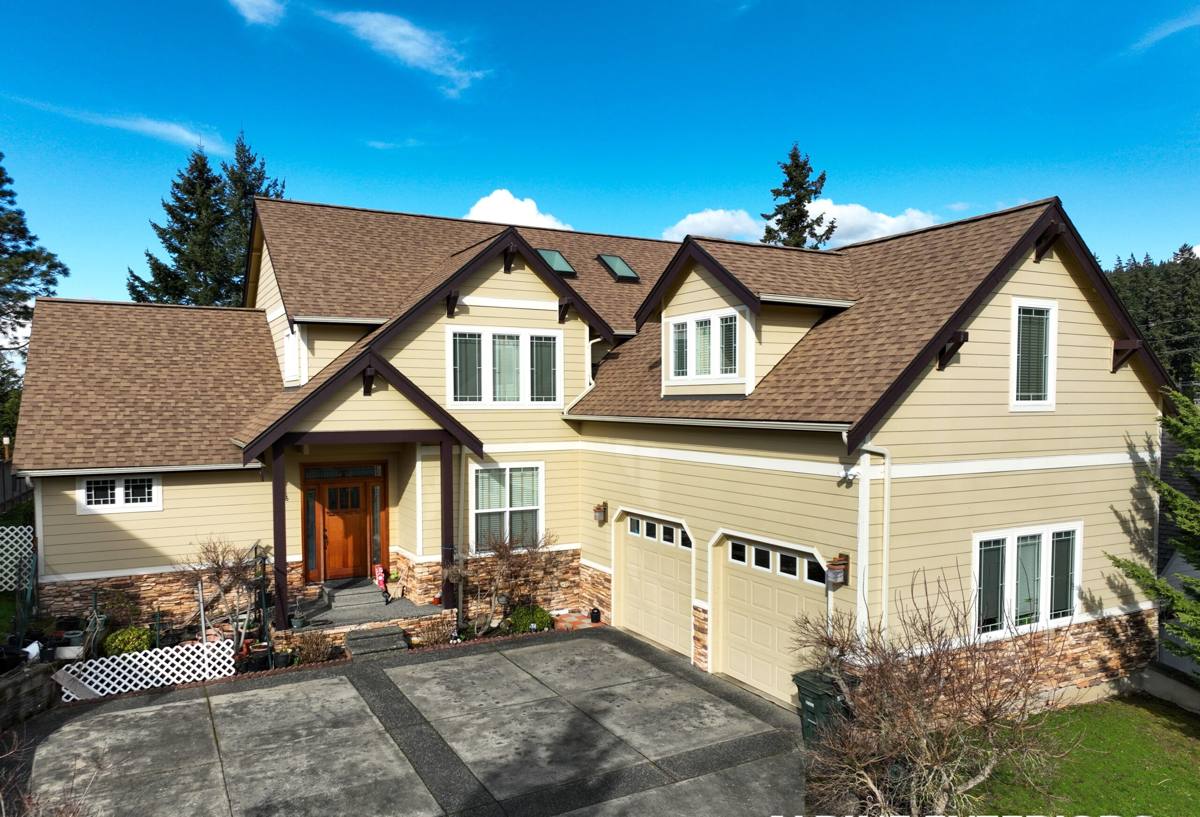
Signs Your Siding Needs Repair, Not Just a Wash
A lot of siding problems start out looking like a cleaning issue and turn out to be something else once you look closer. Here's how to tell the difference.
Moss and Algae Staining
Green or black streaking, especially on north-facing walls or sections shaded by trees, is common on almost every siding type in this climate. On its own it's often cosmetic. The concern is when moss has been sitting long enough to hold moisture against a seam, a butt joint, or an area where paint has worn thin — that's where staining turns into softening underneath.
Soft, Swollen, or Delaminating Boards
Press a gloved hand or a screwdriver handle (not the point) against suspect boards. Give under light pressure, visible swelling at the bottom edge, or a board that looks like it's separating into layers all point to moisture that's already inside the material, not just on the surface.
Cracked, Buckled, or Gapped Panels
Cracking can come from an impact, from a fastener driven wrong, or from a board that was never sealed on a cut end. Buckling usually means the siding was installed without room to move, or moisture behind it is pushing the board outward. Gaps at joints let wind-driven rain straight into the wall assembly.
Failing Caulk, Trim, and Flashing Lines
Caulk has a service life, and in a climate with this much rain it's usually shorter than homeowners expect. Cracked or missing caulk at trim boards, window returns, and butt joints is one of the most common entry points we find for water that later shows up as a stain, a soft spot, or an interior smell nowhere near where the leak started.
What's Actually Causing the Damage
Three things do most of the work on Bellingham siding:
- Salt-laden marine air — corrodes exposed metal fasteners and trim faster than it would inland, which weakens the mechanical hold on siding boards over time.
- Driving, wind-driven rain — doesn't just fall straight down, it gets pushed sideways into laps, joints, and any gap in caulking or flashing, which is why water intrusion often shows up on walls that face the prevailing weather.
- Extended moss and algae season — shaded, damp conditions for much of the year let organic growth sit on siding surfaces longer than in drier climates, holding moisture against the material and, on wood-based products especially, accelerating rot underneath.
These factors compound. A fastener that's corroding lets a board work loose. A loose board opens a gap. That gap lets in wind-driven rain. The trapped water sits under moss or algae that's slow to dry. By the time a homeowner notices a visible problem, it's often been developing for a season or more.
Repair or Replace? How We Make That Call
Not every siding problem needs a full re-side, and we don't push a replacement when a targeted repair will genuinely hold. But we also won't patch over damage that's going to reappear in a year. Here's how we weigh it:
| Factor | Favors Repair | Favors Replacement |
|---|---|---|
| Extent of damage | Isolated to a few boards or one wall section | Spread across multiple elevations |
| Cause identified | Clear, fixable source (failed caulk, one bad board) | Underlying moisture intrusion behind the wall |
| Siding age and condition | Otherwise sound, mid-life siding | Original material near or past its service life |
| Material match | Compatible replacement boards available | Discontinued profile or faded color that won't blend |
| Repair history | First repair in this area | Same section has needed repeat repairs |
When damage is limited and the cause is clear, a correct repair is the honest recommendation — there's no reason to replace sound siding. When we find rot behind the surface, repeat failures in the same spot, or a material that's reaching the end of what it can reasonably be patched, we'll tell you that directly, with the reasoning, before any work starts.
What a Correct Siding Repair Actually Involves
A repair that only addresses what's visible from the ground tends to fail again. Doing it right means treating the visible damage as a symptom and checking what's behind it.
- Removing damaged boards fully, not just face-nailing a patch over a soft spot
- Checking the house wrap or weather-resistive barrier behind the removed section for tears or gaps
- Verifying flashing at windows, doors, and penetrations is intact and correctly lapped, since misdirected flashing is a common hidden cause of "siding" leaks
- Replacing corroded fasteners with the correct type and spacing, not just driving a new nail next to a failed one
- Matching replacement material for profile, exposure, and color as closely as possible
- Re-caulking joints with a product rated for this climate's rain exposure, not a general-purpose caulk
- Confirming drainage and clearance at the bottom edge so water sheds away instead of wicking back into the board
Skip any of those steps and you've covered the problem, not fixed it — which is how the same wall ends up back on a repair list eighteen months later.
Our Repair Process
- On-site inspection. We look at the damaged area and the surrounding siding, not just the spot you called about, since related problems often show up nearby.
- Moisture check. Where damage suggests water intrusion, we check behind the siding at that location before quoting the scope, so the estimate reflects what's actually going on, not a guess.
- Honest scope and quote. You get a plain explanation of what needs to happen, what it will cost, and why — including if we think a section should be replaced rather than repaired.
- The repair itself. Removal of damaged material, correction of any underlying cause, installation of matched replacement boards, and proper sealing and fastening.
- Site cleanup and a look ahead. We haul away debris and, if moss or drainage patterns contributed to the damage, we'll tell you what to watch for or address separately so it doesn't come back.
Why We Only Repair With James Hardie Fiber Cement
Our company installs exclusively James Hardie fiber cement siding — we don't install vinyl, LP SmartSide, cedar, primed spruce, or other fiber cement brands, and that standard carries through to repair work as well. When we're patching an existing Hardie wall, we can match the product line and ColorPlus finish and get a repair that blends in and holds up the same way the original installation does.
When we're called to repair a different material and find recurring rot, delamination, or fastener failure that's tied to the product itself rather than a one-time installation error, we'll say so plainly. That's not a sales pitch against another brand — it's the same reasoning that led us to standardize on Hardie in the first place: it's non-combustible, it's engineered for wet, coastal-influenced climates like this one, its factory finish holds color better under UV and salt exposure than field-applied paint, and it doesn't feed rot the way wood-based siding can when moss and moisture sit on it for months at a time. For a wall that's genuinely at the end of its life, replacing that section in Hardie is often the more honest long-term answer than repeating a patch that won't hold through another wet season.
Why a Crew That Already Works Bellingham Matters
Siding repair done by a crew unfamiliar with this specific area tends to miss context that matters. We already know which neighborhoods hold moisture longer under heavy tree canopy, which elevations take the worst of the wind-driven rain off the water, and how Whatcom County's climate patterns typically show up in siding failures over a given siding's lifespan. That local knowledge shapes the repair — where we look for hidden moisture, what caulk and fastener specs we trust in this exposure, and how we set homeowner expectations about moss and algae returning if nothing else changes.
It also means a faster, more accurate estimate. We're not learning the local climate on your project; we're applying what years of repair calls in this county have already taught us.
Homeowner Checklist: Inspecting Your Own Siding
Between professional inspections, a quick seasonal walk-around can catch problems early. Look for:
- Green, black, or dark streaking on shaded or north-facing walls
- Any board that feels soft, spongy, or bulges when pressed lightly
- Cracked, missing, or shrunken caulk at trim, corners, and joints
- Gaps or misalignment where siding boards meet each other or trim
- Rust streaks below fasteners or trim, which can signal corroding hardware
- Peeling or bubbling paint, especially near the ground or under windows
- Water stains, musty smell, or discoloration on interior walls that back up to exterior siding
If you notice more than one of these on the same wall section, it's worth getting a professional look before the next stretch of driving rain finds its way further in.
If your Bellingham home is showing any of these signs, we're glad to take a look. Reach out for a free, no-pressure estimate — we'll tell you honestly whether you're looking at a straightforward repair or something bigger, with no obligation either way. The form below gets you started.